
Please note the E3D ToolChanger is now discontinued, story here.
TL; DR: We give an overview of the different options for multimaterial (or multicolour) 3D prints!
Multicolour FDM 3D Printing: How does it work?
So, you’ve got a 3D printer, or maybe you're interested in buying a 3D printer and you’ve seen some pictures of multicolour prints. You’ve been left wondering how they’re made and what kind of hardware you’d need to try it for yourself.
In this blog we’ll give an overview of the ways in which you can combine multiple colours in a single 3D print, weigh up the pros and cons, and ultimately help you decide whether they are worth the extra hassle!
Before we get into the options, let’s define what we mean when we say multiple colours in a single print.
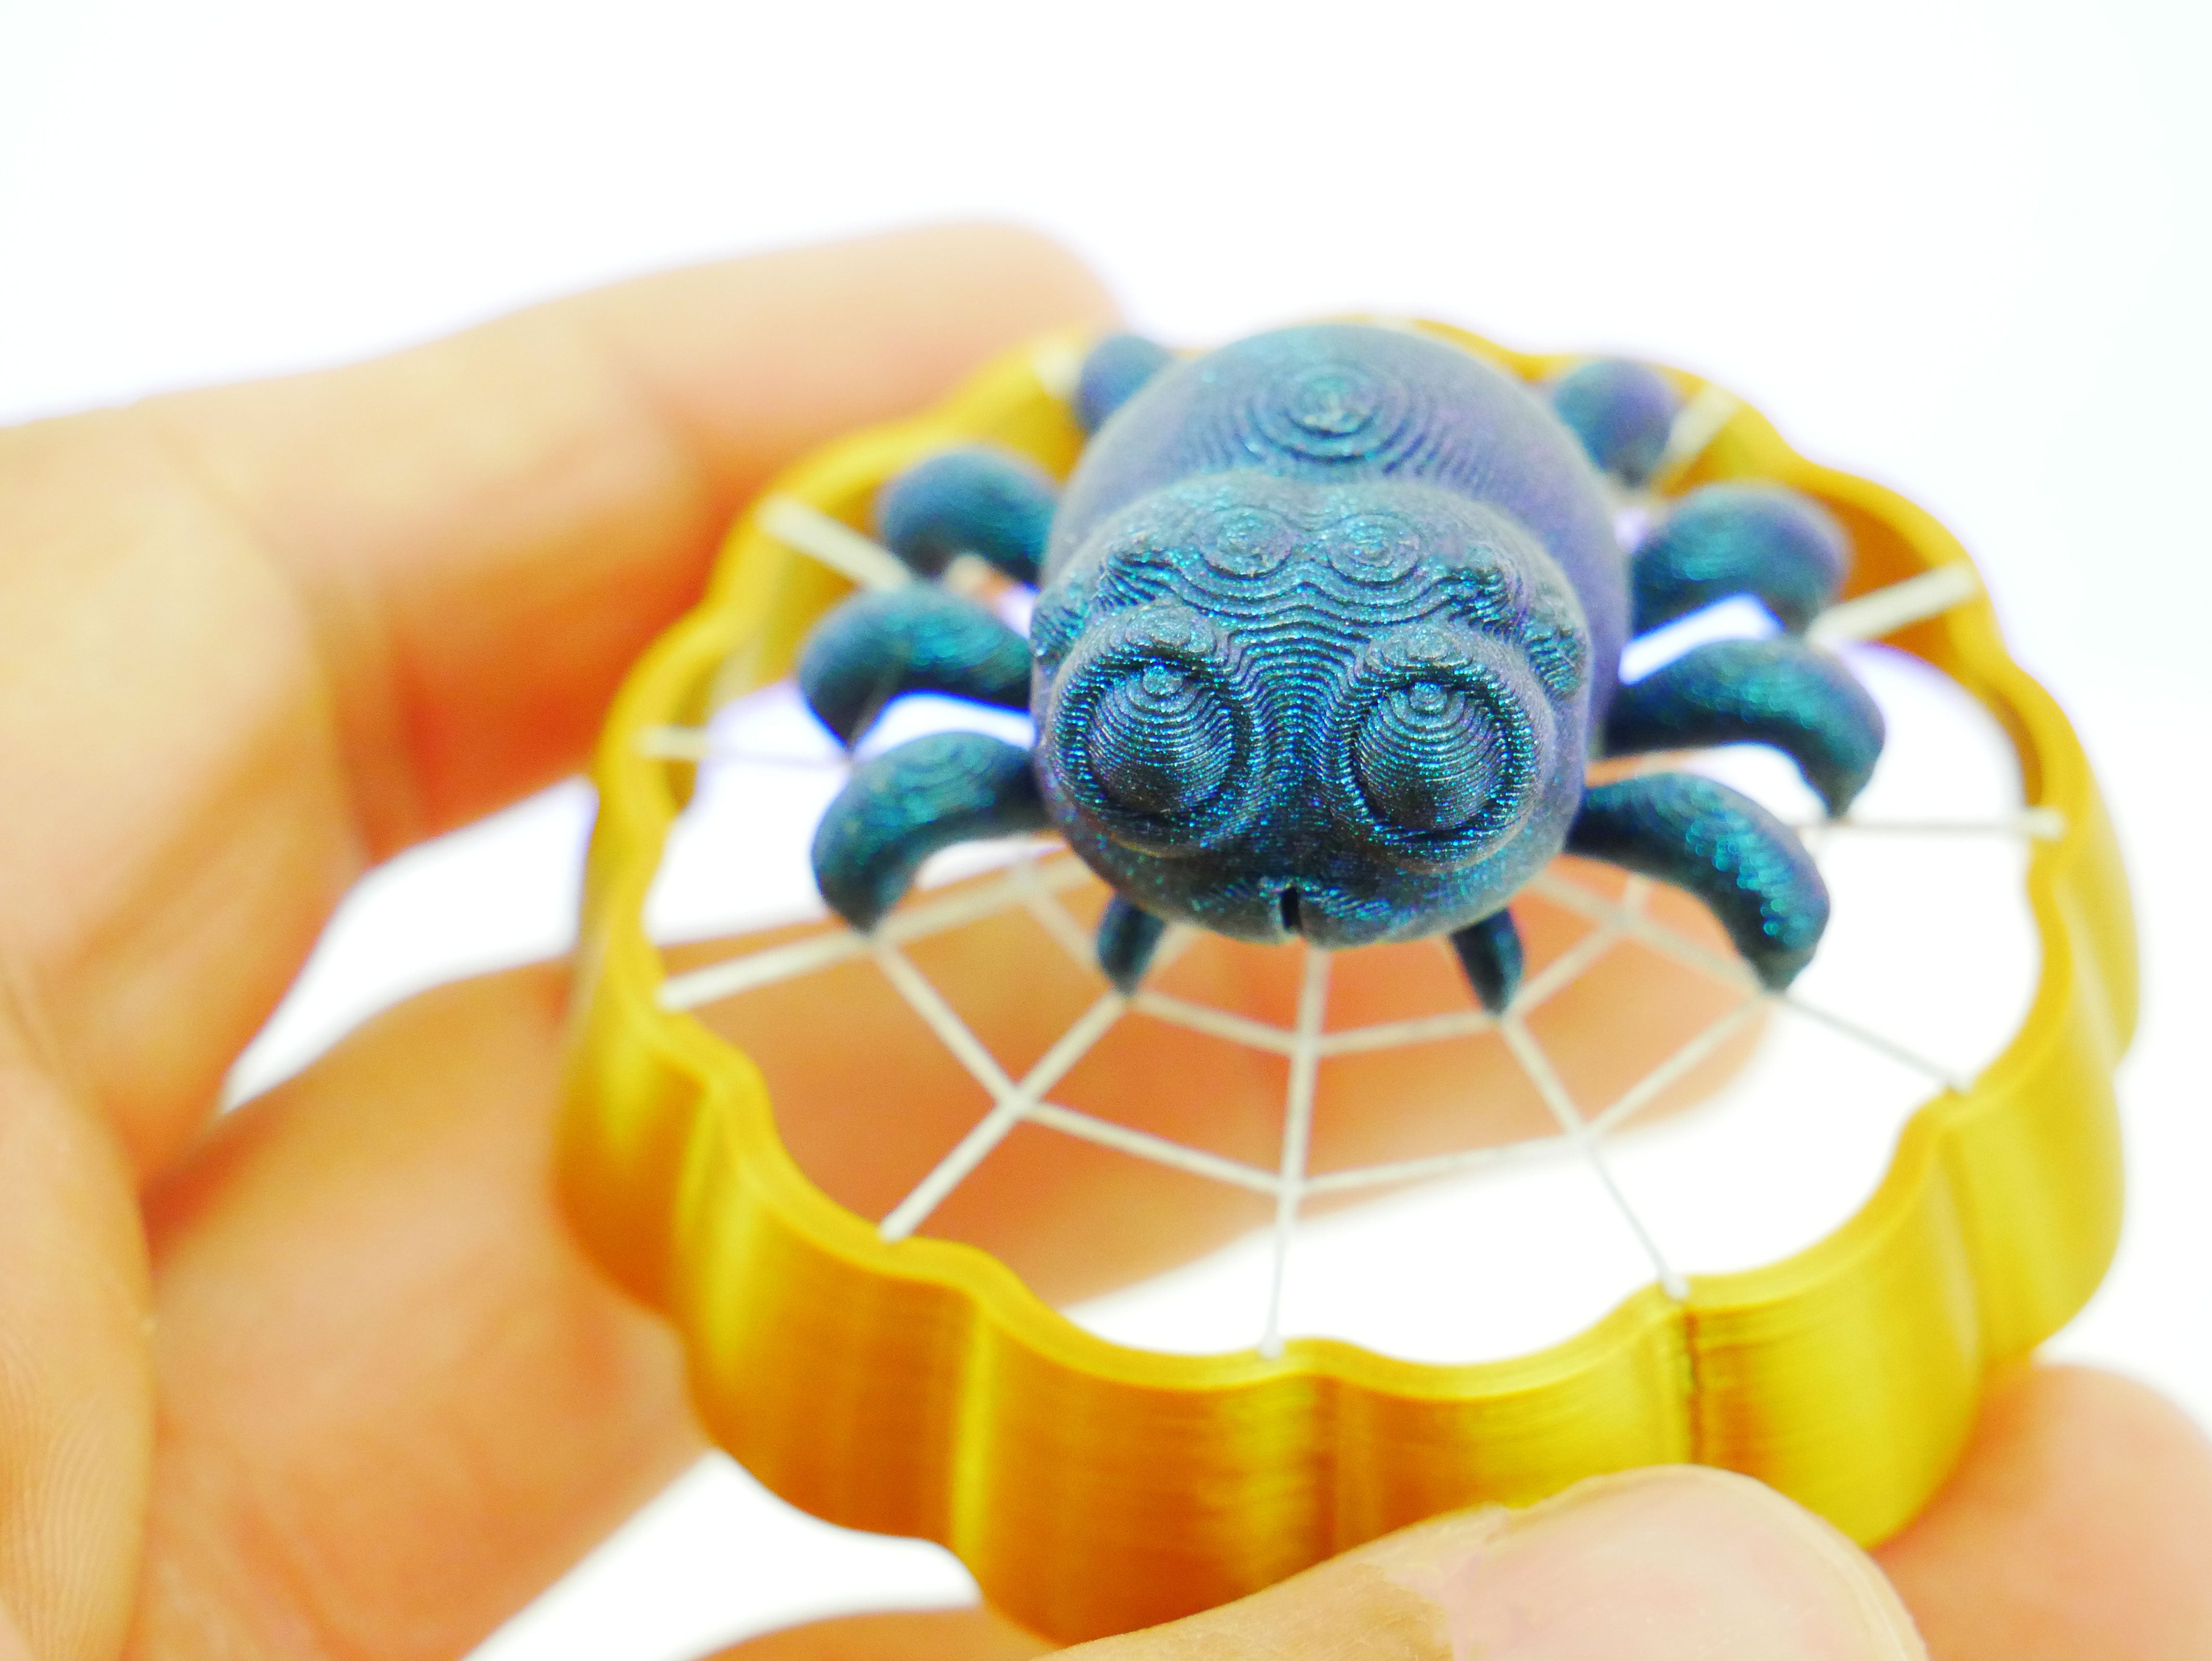
 📷 Hemera Fidget Spinner make from ’Will’ on Printables
This Hemera Fidget Spinner for example is designed to be printed as one piece. As a result, if you want to add colour, you need to be able to combine multiple filaments into one 3D print.
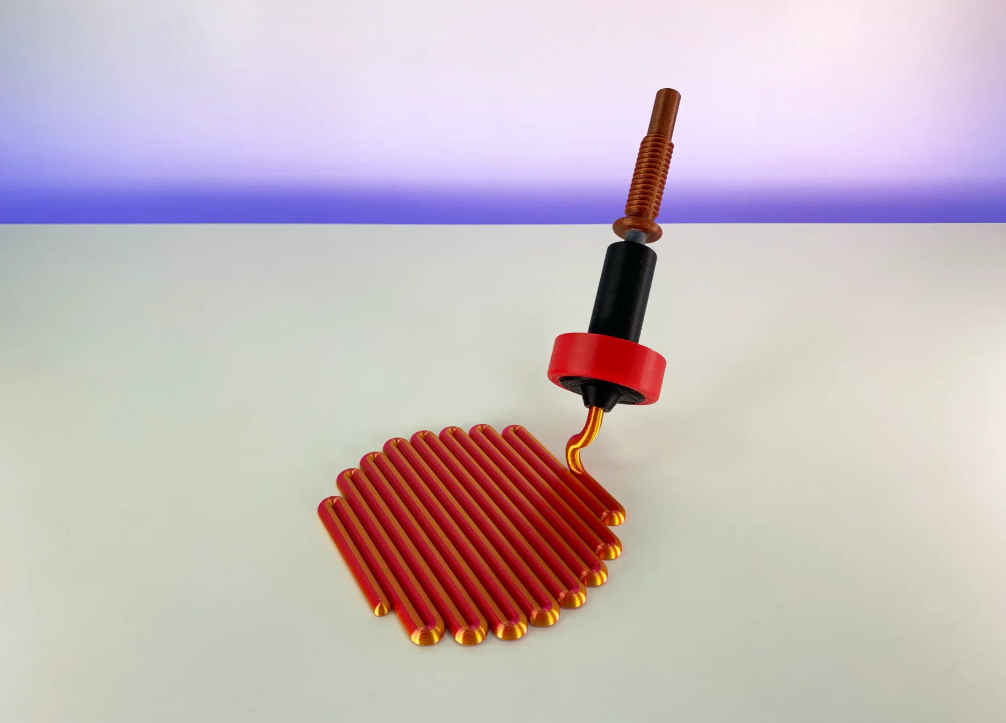
On the other hand, this ‘Revo Nozzle Coaster’ is designed to be printed in multiple parts. Meaning adding colour is done by printing the parts individually.
The first thing to decide is if you need to be able to combine colours in a single print. Plenty of models are designed to be printed in parts and do not require any colour changing capability. You can save yourself time and money by printing this way, so it’s worth trying before investing in a multimaterial setup.
Manual filament changes at height
The first solution to combining different filaments in a single print is to manually change the filament at a certain layer height on the model. This involves pre-setting the height you wish to change the filament at in your slicer. This is a great way to add a splash of colour to your model, but it is one-dimensional. Quite literally in fact. You can only add colour by layer, so there are limitations on what you can do!
 📷 These portraits of some of TeamE3D are a good example of how creative you can be using just one filament change.
 📷 Our ‘Spider’s Web’ and ‘E3DBuggy’ models are carefully designed to allow for filament swaps mid print. They also double as stress tests for your 3D printer.
There are plenty of designs out there that leverage the manual filament change. It’s a personal favourite of ours as anyone with a 3D printer can try it without investing in any extra hardware.
Pros: Free, Encourages creativity in model design, Super easy to setup.
Cons: Limited in what you can do with it.
Toolchangers
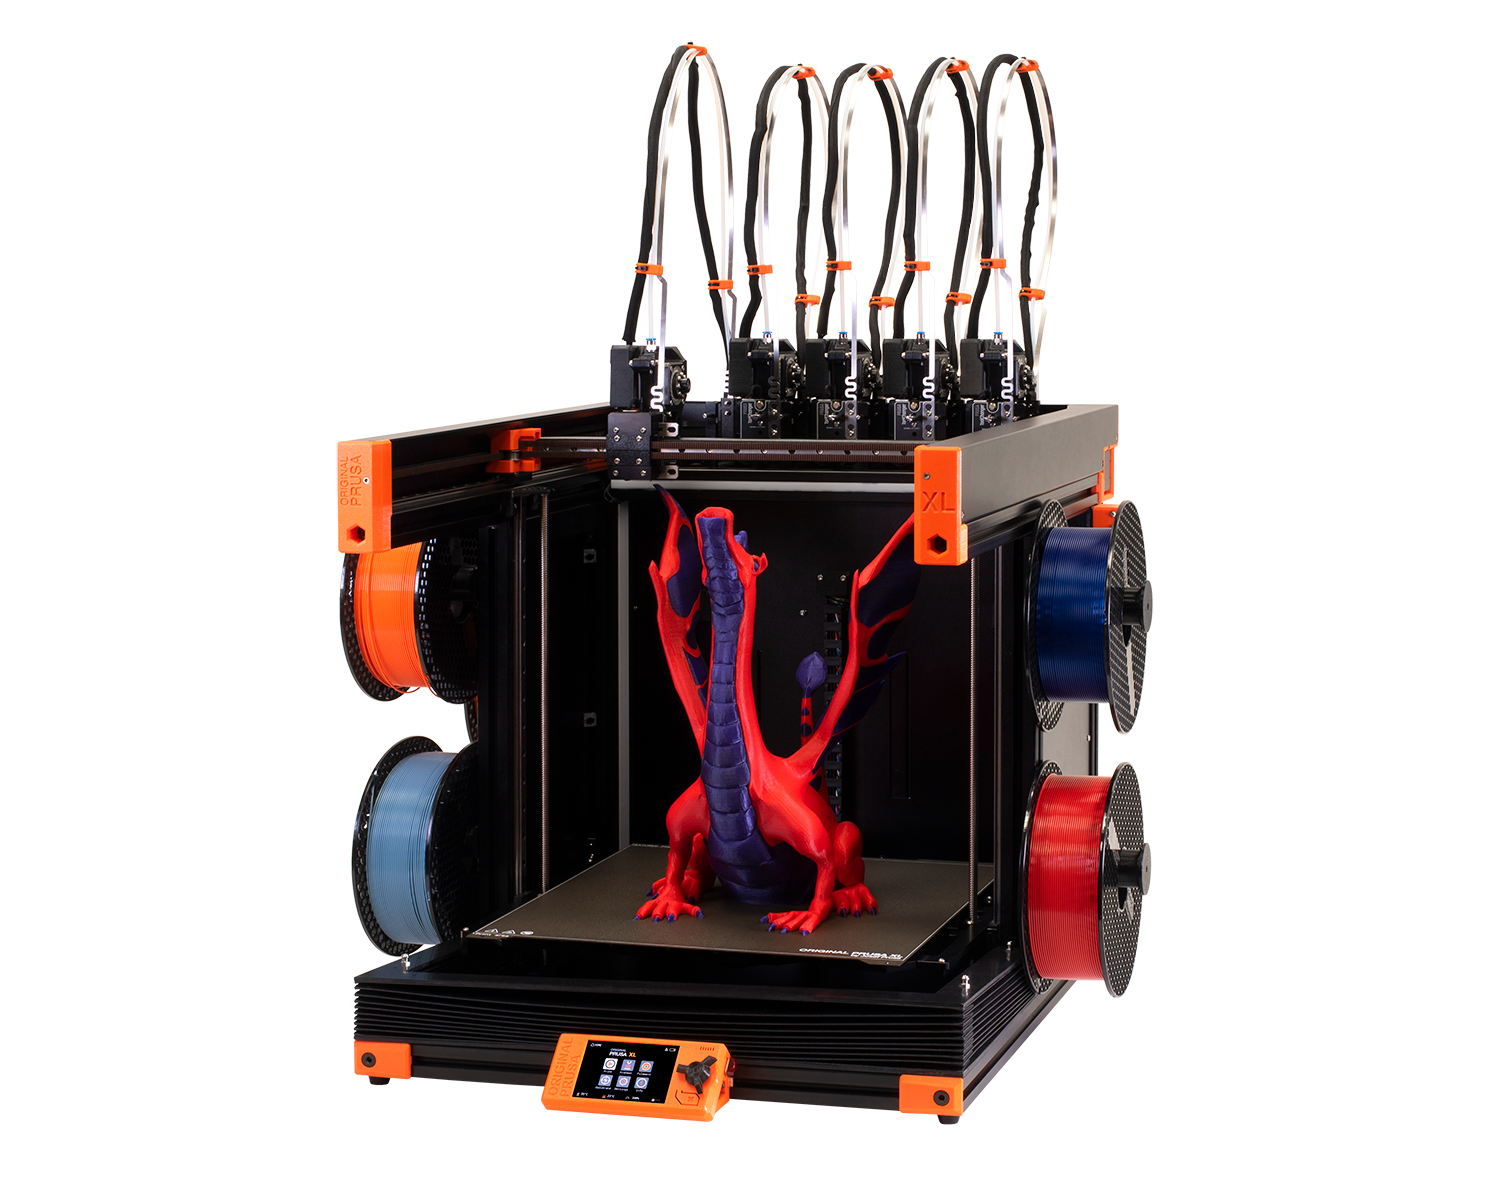
📷The E3D Toolchanger alongside the Prusa XL. Image Source.
The E3D Toolchanger was a bit of a revelation when it arrived on the 3D printing scene, even if we do say so ourselves! A few years down the road and we’ve started to see other Toolchanger implementations popping up in the 3D printing sphere. Most notably on Prusa’s eagerly anticipated Prusa XL.
The original premise of the E3D ‘Toolchanger’ was a research platform for changing tools to combine different manufacturing processes in one ‘print’. Whilst some people do combine different tools, many use it as a machine for multimaterial printing.
What makes the Toolchanger so special is that each filament has its own dedicated Extruder and HotEnd. This enables faster ‘tool changes’ between filament swaps and less wasted material as there is no need to purge the first filament out of the Nozzle as is the case for setups with a single extrusion system.
Pros: The ultimate multimaterial solution, no unnecessary filament waste, fast swaps between filaments.
Cons: Challenging to configure. Expensive.
IDEX Machines
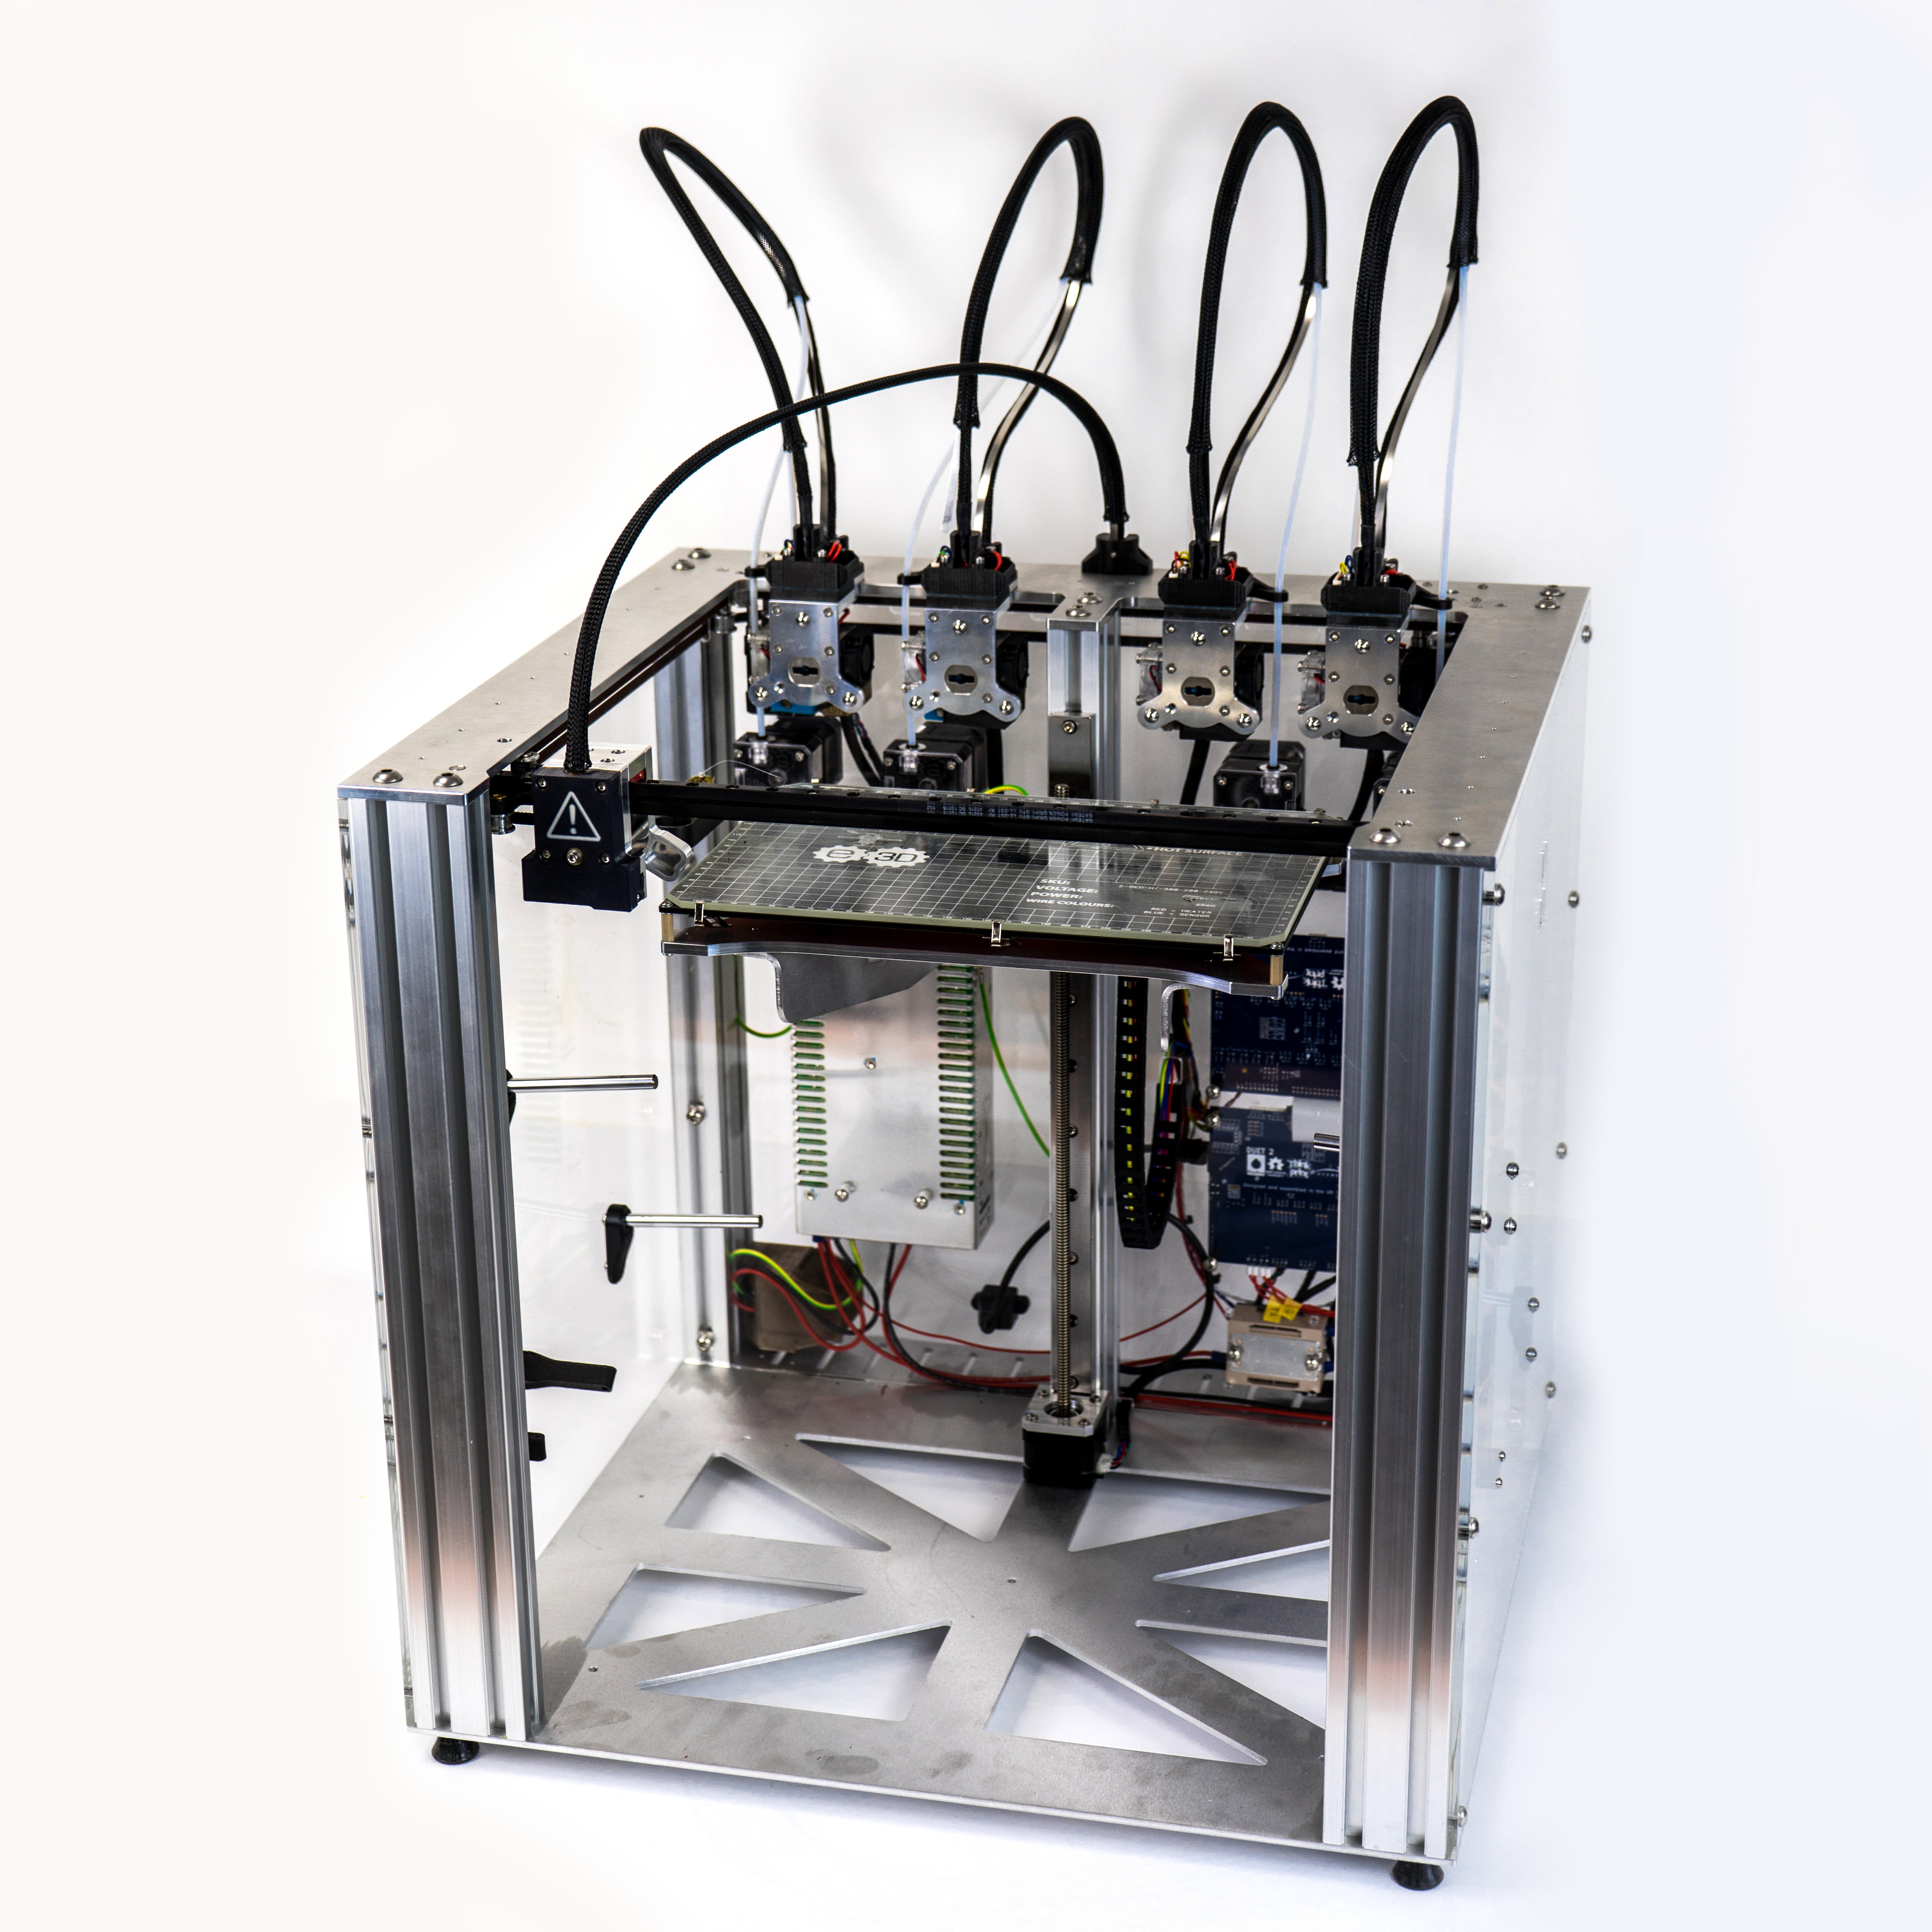
 📷 INDART3D have plenty of experience creating IDEX machines. This one features both a Revo Hemera XS and a pellet extruder. You can find out more about them here.
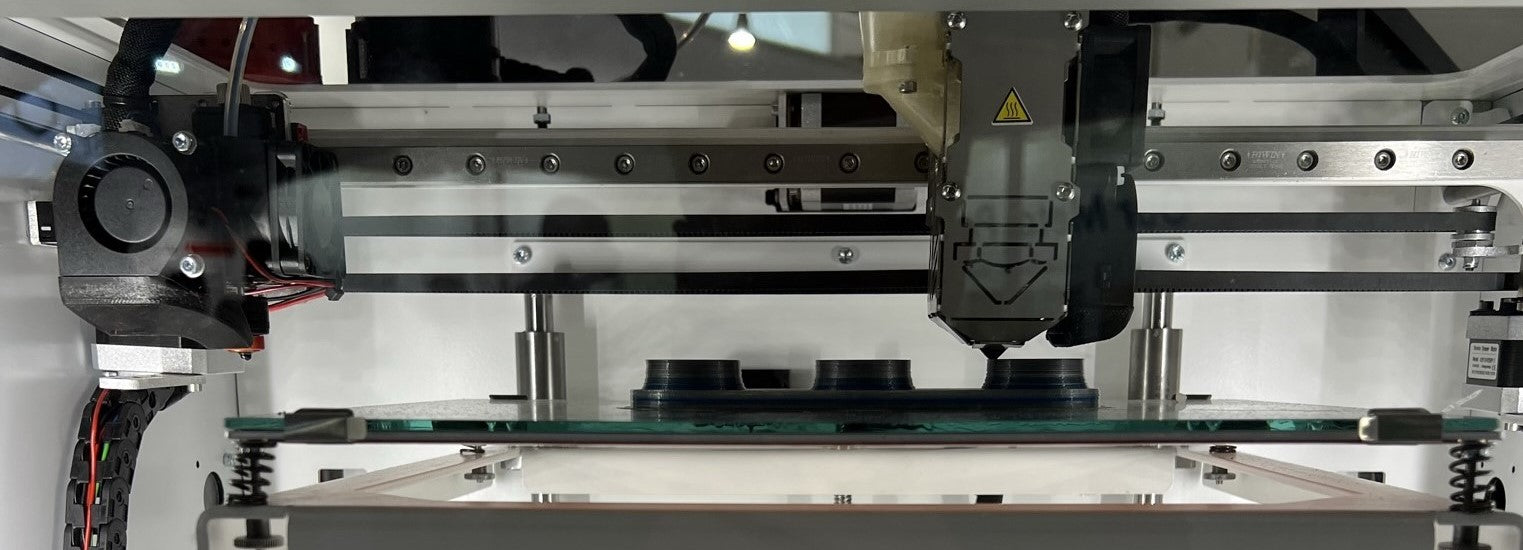
Like a Toolchanger, an IDEX (Independent Dual EXtruders) has an individual extrusion system for each filament. In fact, as the tools are on totally separate belt systems, you can use an IDEX machine for mirror printing. This enables you to print two of the same model at the same time, which can be a handy feature.
The downside of an IDEX machine is that you are limited by the two toolheads. Meaning you can only do multimaterial printing with two filaments per print. If you will only ever need two filaments for you application, this is an ideal choice. For example, if you have no need for multicolour prints but want to utilise soluble support material.
Pros: No unnecessary filament waste, Fast swaps between filaments, Mirror printing mode
Cons: Maximum of two filaments in one print.
Multi-Nozzle Toolheads
Another option is to have 2 or more Nozzles or HotEnds mounted to the same toolhead. This way you have the benefits of separate filament paths, but you don't require multiple sets of belts like in an IDEX machine. This method has been around almost since the beginning of desktop 3D printers. Improvements have come in the way of actuation like on the Ultimaker 5 where the nozzles can move up slightly so that they are out of the way when not in use. This helps prevent oozing between nozzles.
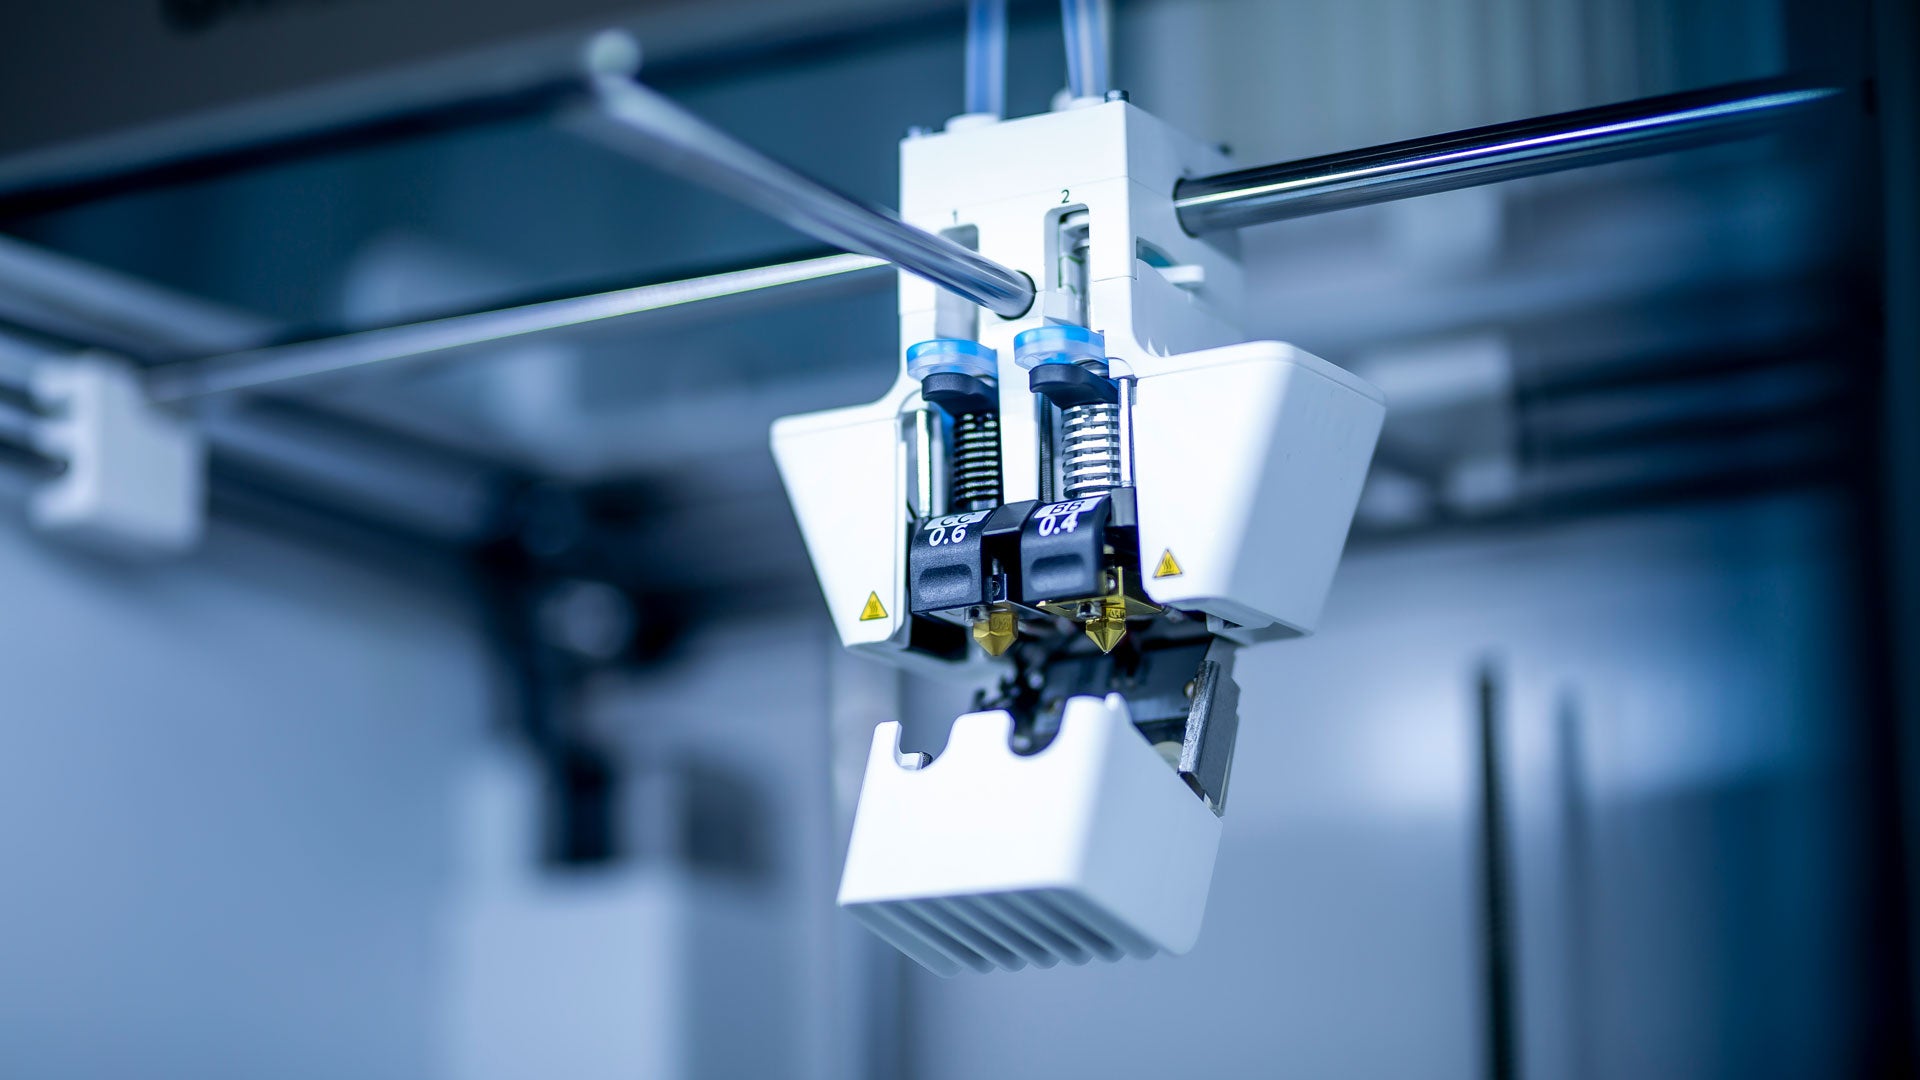 📷 The Ultimaker 5 utilises this approach. In fact, we custom designed their CC cores for their machine. Image courtesy of Ultimaker.
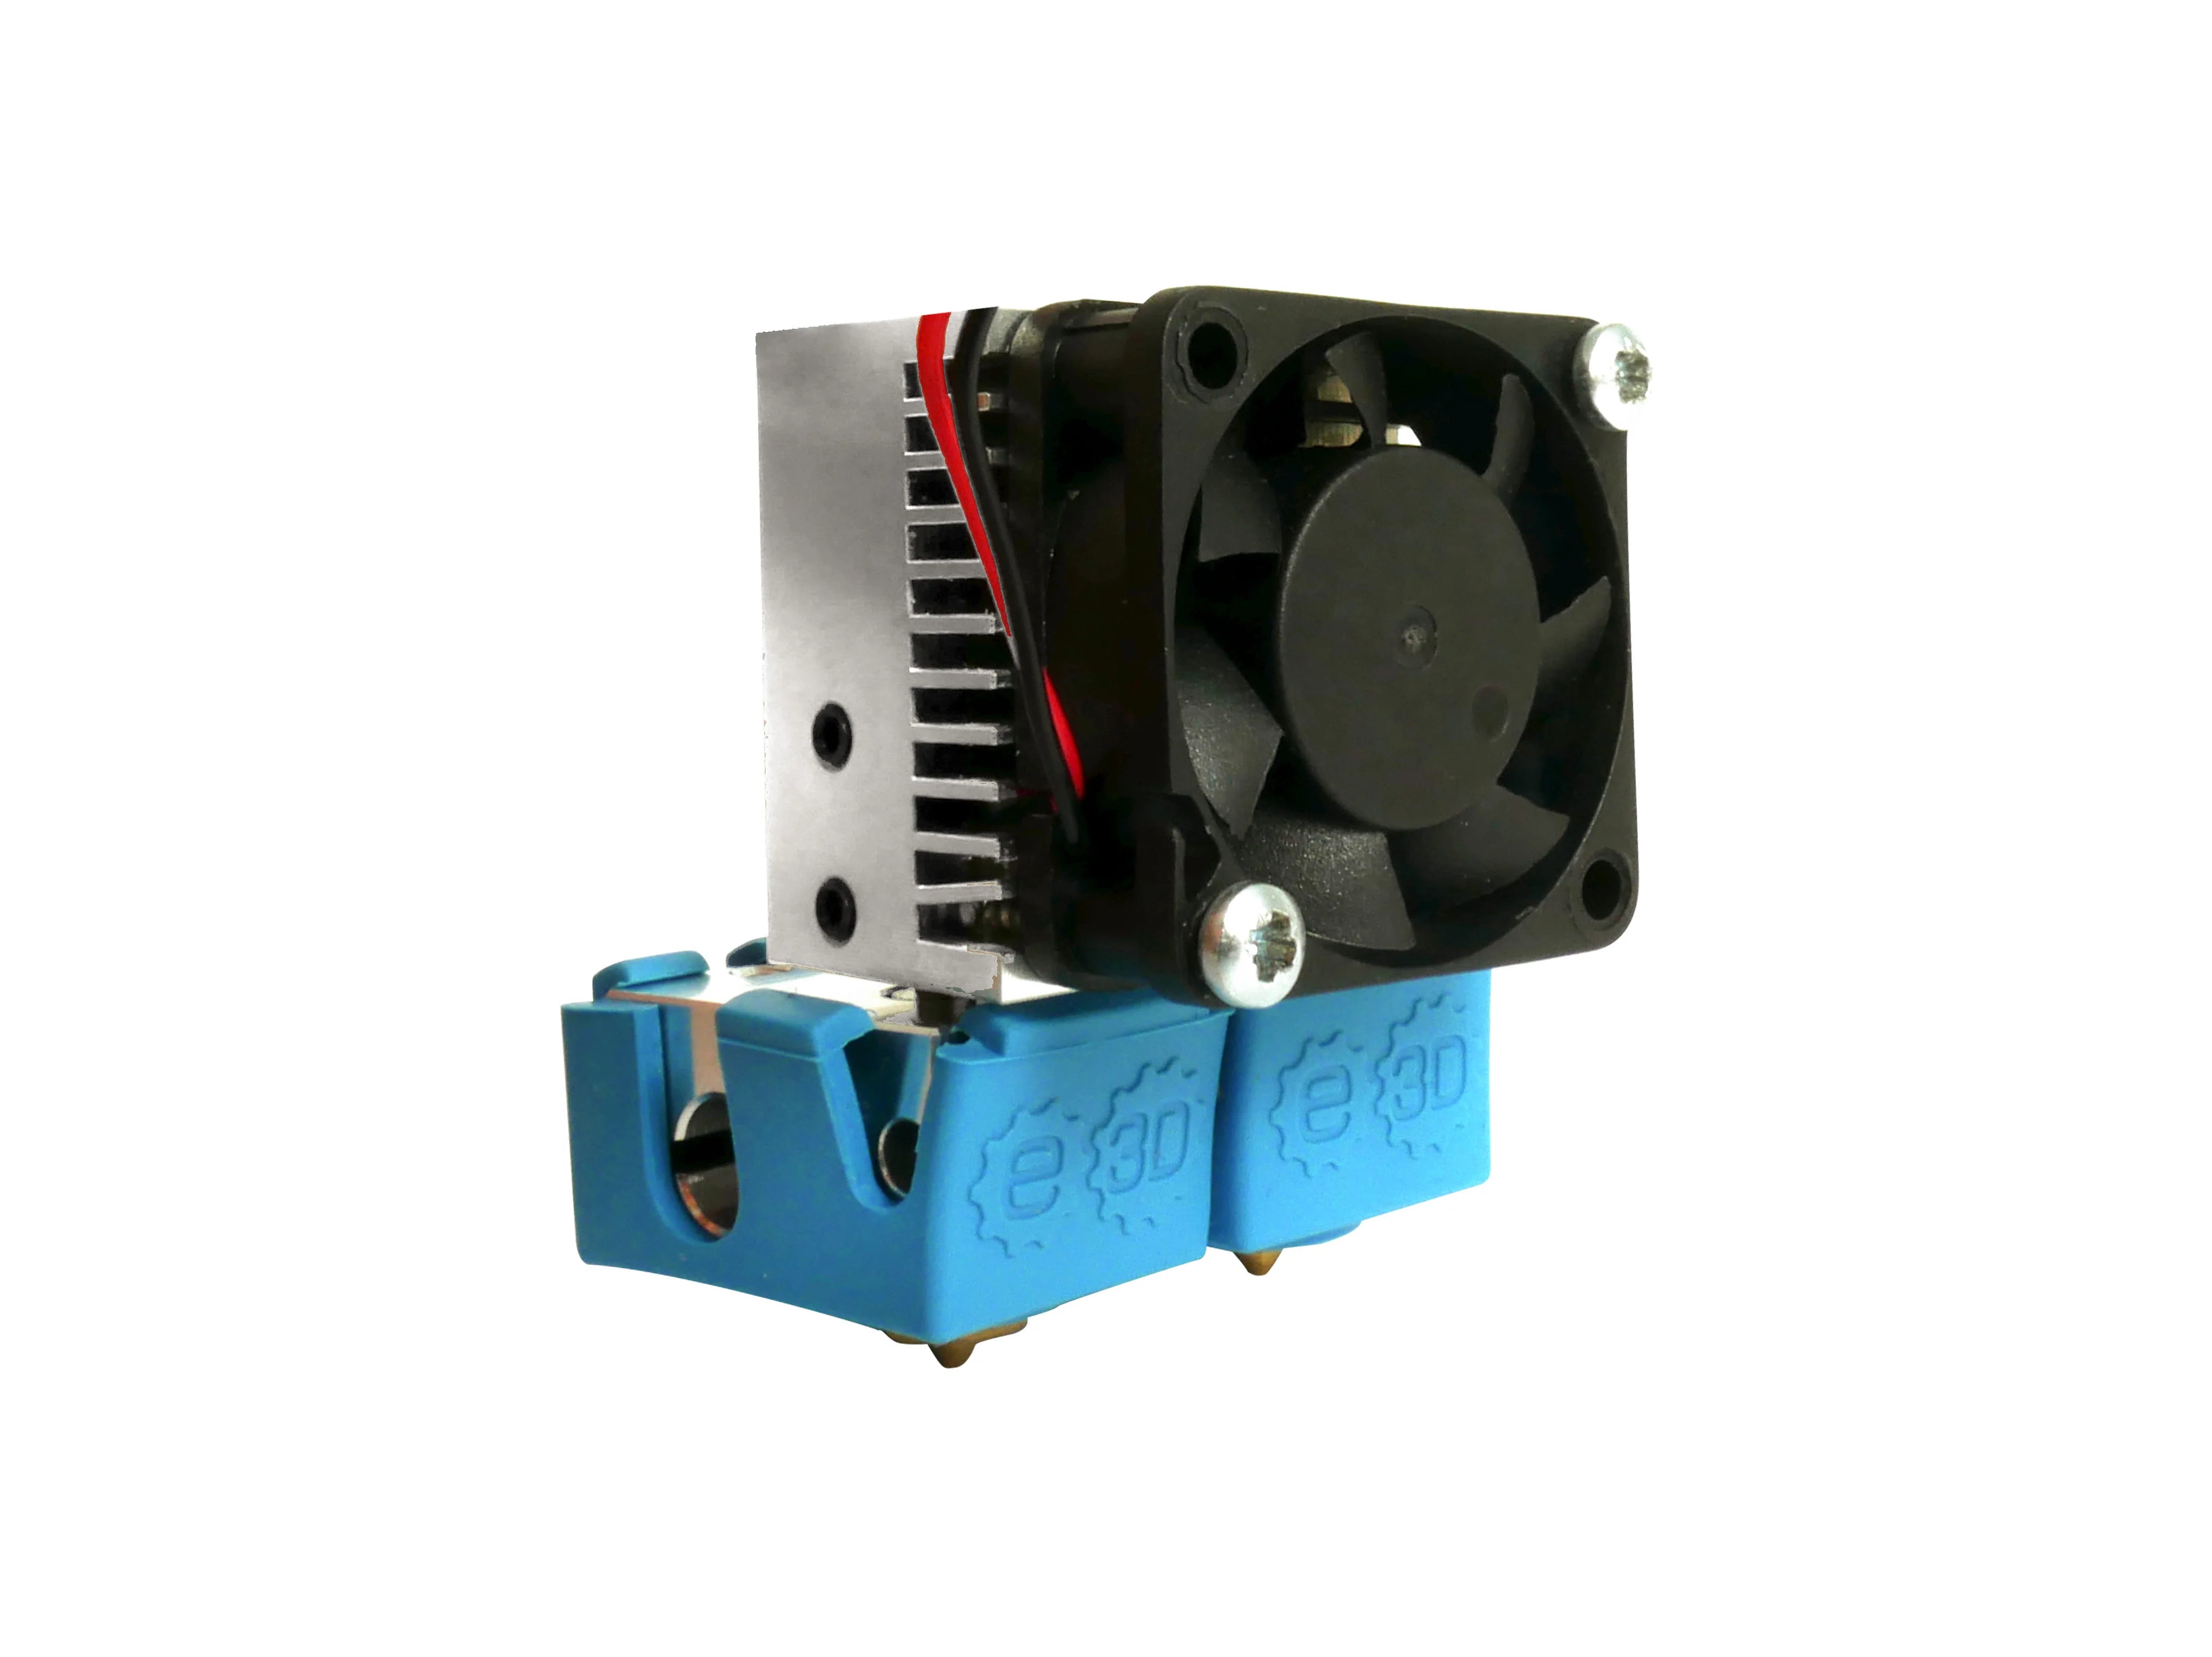
📷 The E3D Chimera+ combines two HotEnds into one heatsink.
We’ve since moved away from creating this style of HotEnd as we believe there are now an abundance of better options for multimaterial printing.
Pros: One toolhead, No need to purge the Nozzle between filament changes.
Cons: Heavy Toolhead, Oozing between nozzles can be a problem.
Machine Add-ons (MMU, Palette, etc.)
 📷 The MMU2S using our Revo Six HotEnd with a custom MK3 Revo Nozzle holder! Image source and model download.
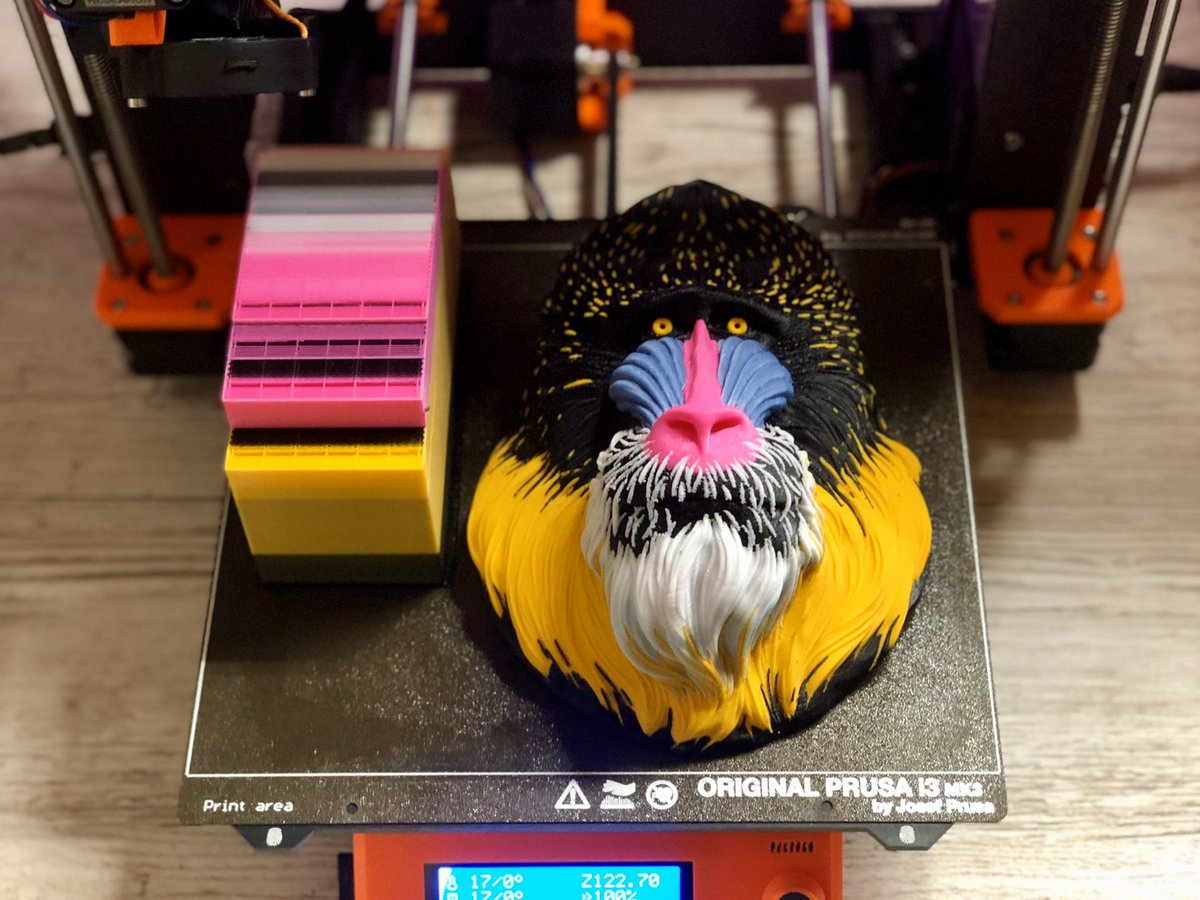 📷 Mandrill printed with the Prusa MMU2S. Image Source.
For the Prusa style of MMU, specifically the Prusa MMU2S. It works by feeding and retracting the filaments in and out of a single HotEnd one by one, as they are required. Whenever there is a filament change needed, any filament of the old colour must then be purged out of the Nozzle. This is done by having a purge block alongside the print.
There are plenty of machine add-ons available for multimaterial. The benefits being you don’t have to purchase a new printer but the drawbacks being the print times are made slower and filament waste is generated in the form of purge blocks!
📷 The Palette system. Image Source.
Another example of an add-on is the Palette system which, instead of feeding the filament in and out, splices the filaments together to create a single piece which is then fed into the HotEnd. There’s also the ’enraged rabbit carrot feeder’ (yes that really is what it’s called) for Voron printers.
Pros: Can be added on to an existing printer, works with 4 or more filaments.
Cons: Wasted filament in the form of purge blocks, not compatible with all printers, often difficult to get working reliably.
Which option you choose will depend on how many filaments you are looking to print with, how slowly you are willing to print and how much filament you are willing to waste in order to print your models.
We’d recommend starting with some models which are designed to be printed in separate parts. It’s also good fun trying some prints using a manual filament swap or two. This will give you a chance to work out if a multimaterial setup is something that’s worthwhile for you. For many people, it won’t get enough use to justify the extra cost and setup work.
We highly recommend using Printables for sourcing your models, it’s our go-to site for model sharing! You can find our account here.
For multicolour (or multimaterial) printing, there are now an abundance of options, we’ve given an overview here but there are plenty more that we’ve not mentioned. They all have their own benefits and drawbacks so it’s for you to decide which would be the best fit for your needs.
Of course, we’re biased but if you decide you want to explore the world of multimaterial printing and are looking to invest your time and money into a new machine, the ultimate solution is a toolchanger. Be aware though, more capability means more complexity and whilst our toolchanger is a very capable piece of hardware, we refer to it as a research platform for a reason. It’s a great learning tool, but you should expect to dedicate some serious time to it!