- Connect the board to the host Raspberry Pi via USB adapter cable.
- This step depends on if your board has firmware on it or not already:
a) If you have a pre-flashed board first must enter DFU mode as follows:
• press the BOOT and RESET switch
• release the RESET while keeping the BOOT button pressed
• release BOOT switch button after 3 seconds
b) If you have a new un-flashed board:
• The MCU default's to DFU mode if there is no other firmware installed, confirm the board enters DFU mode in step 4.

3. Connect to your host raspberry pi via SSH
4. Run lsusb from the command prompt
• Make sure you see an STM32 in DFU mode listed
5. Run dfu-util --list from the command prompt
• note the text inside the [xxxx:yyyy]
6.Run cd ~/klipper from the command line to enter the Klipper directory
7. Run make menuconfig settings should be:
• Cristal oscillator – 8Mhz

• Set custom USB ID to Rototool

• Optional features (to reduce code size):

• Hit Q to Exit and Save
8. Run make clean to clean up the make environment
9 .Run make flash FLASH_DEVICE=xxxx:yyyy (using the xxxx:yyyy noted from step 5
usually 0483:df11). In case you encounter some errors but still having the message of File downloaded
successfully than you are good to proceed to the next step.

10. Press the RESET button to restart the MCU and enter normal operating mode
11. Run ls /dev/serial/by-id/* should return a device with
/dev/serial/by-id/usb-Klipper_stm32f042x6_Rototool-if00. Copy this virtual serial port name to the Rototool config file MCU section

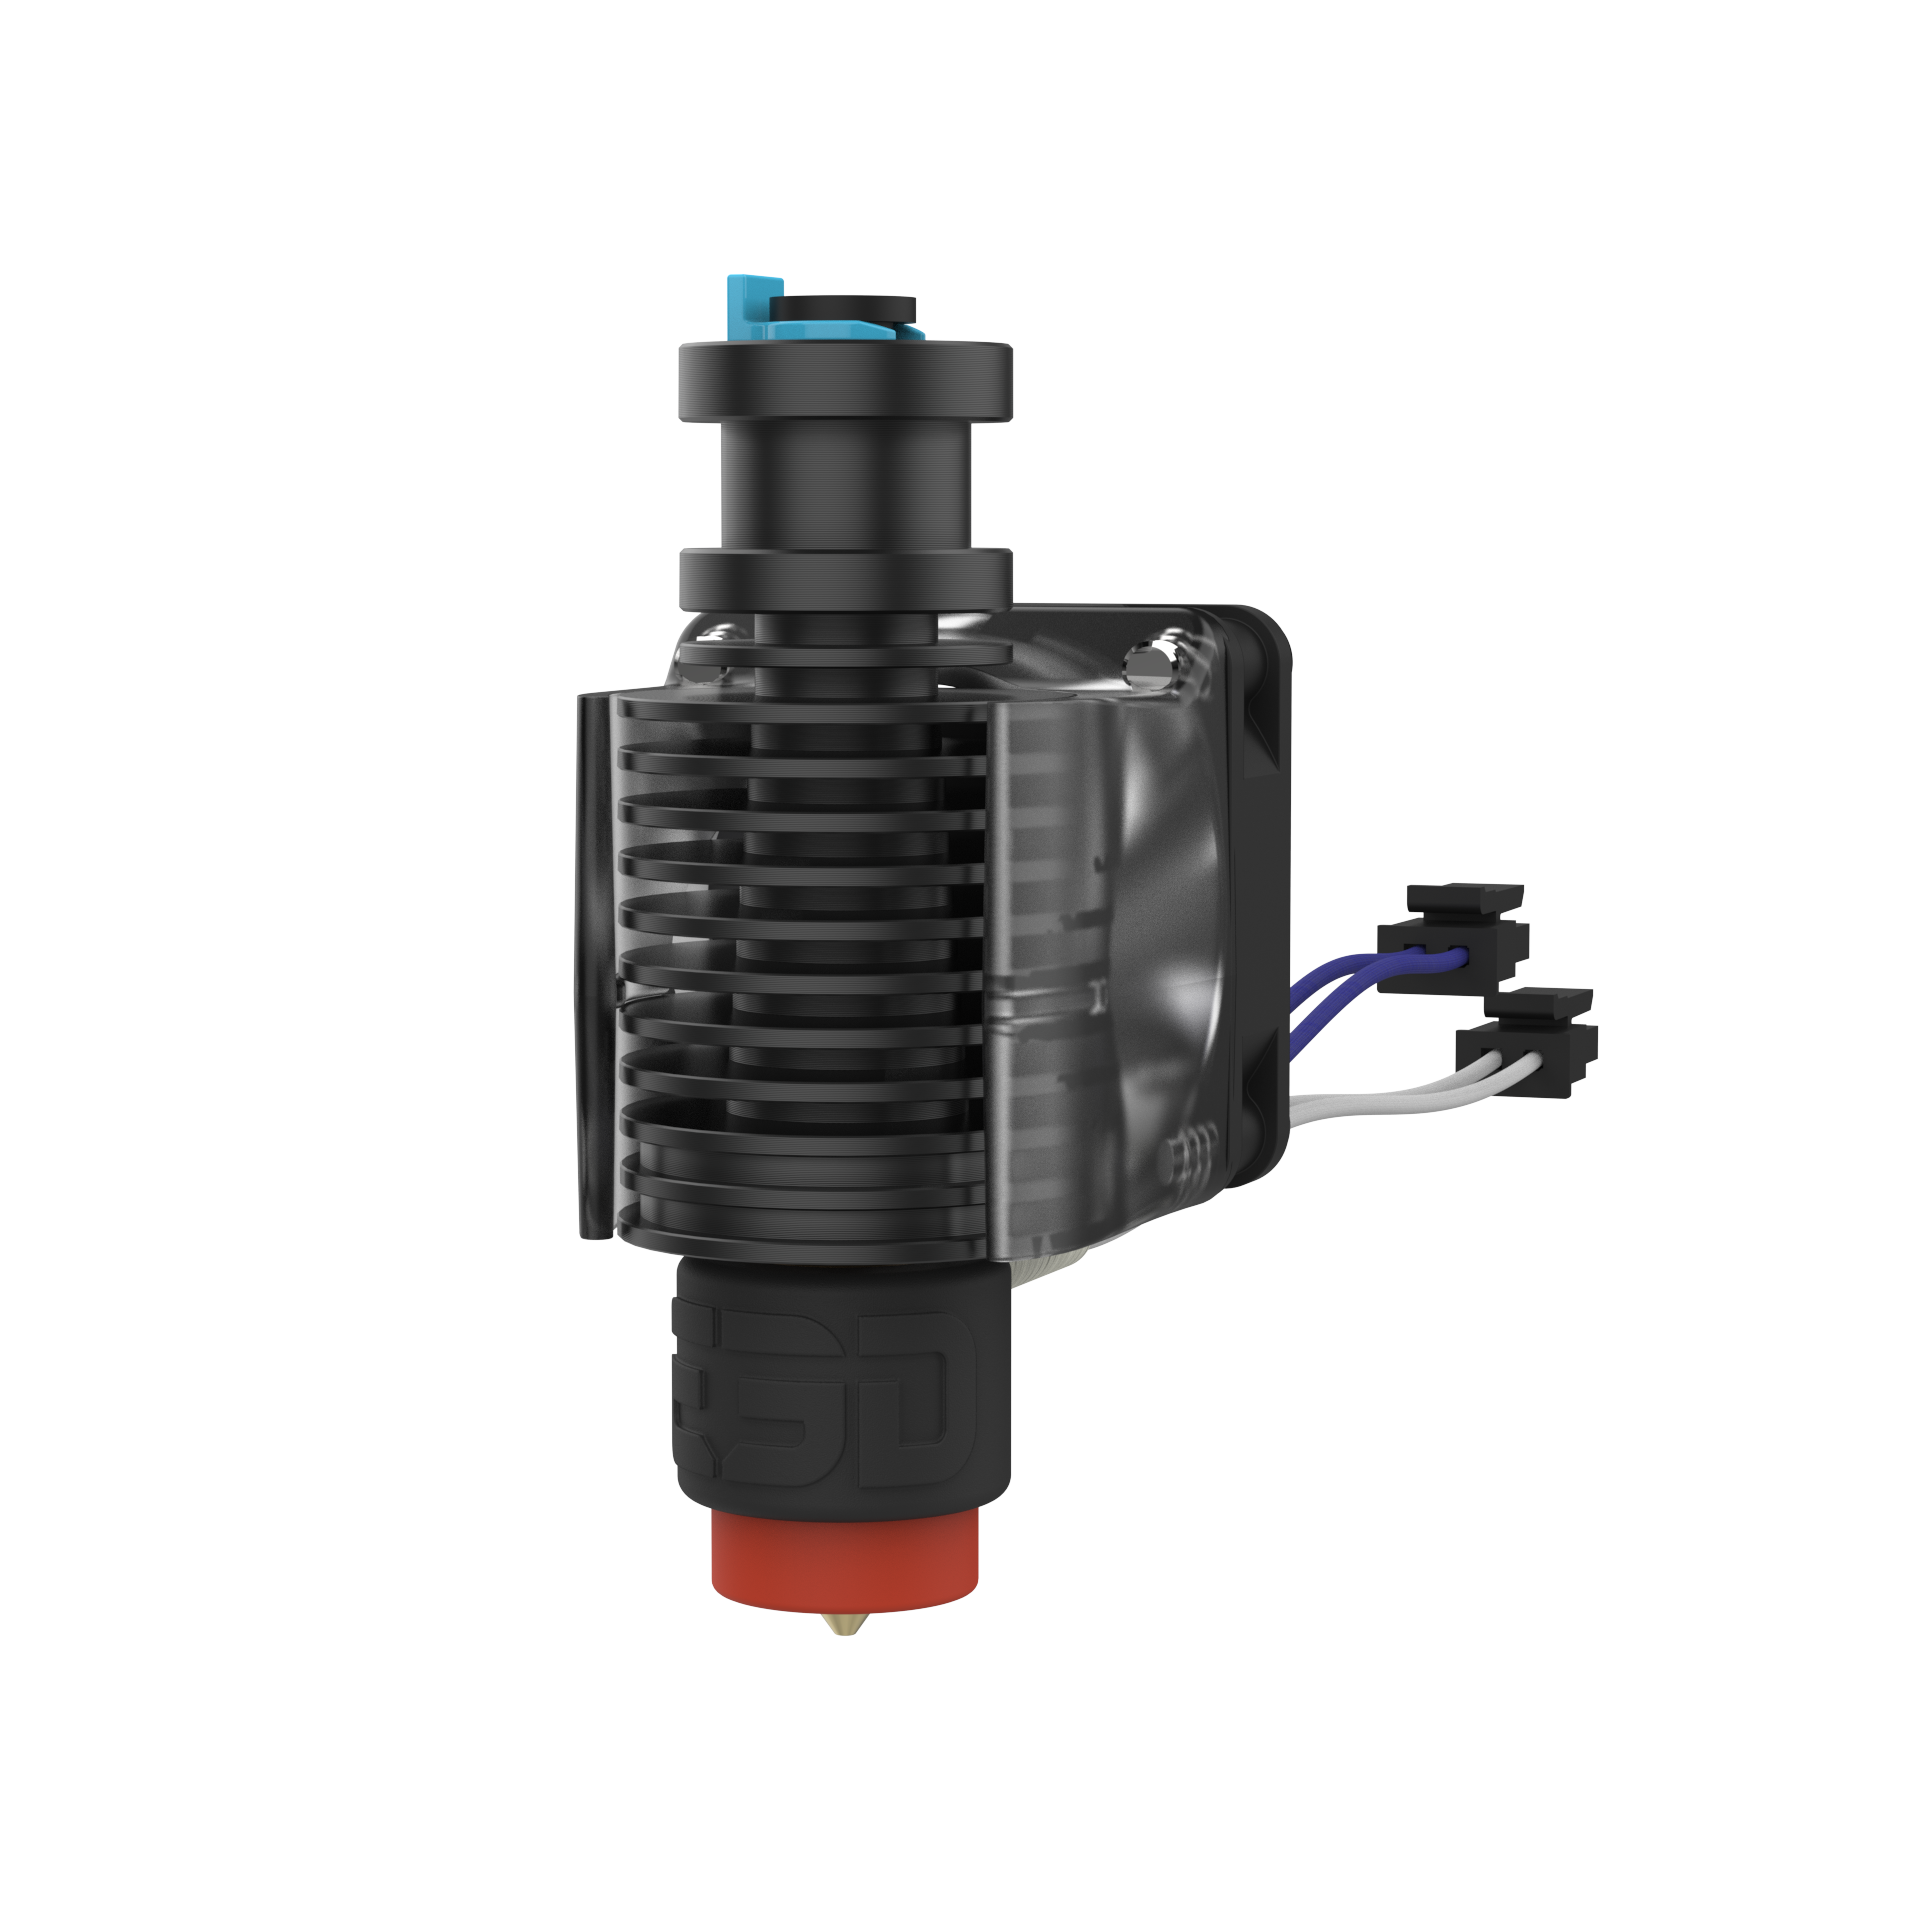
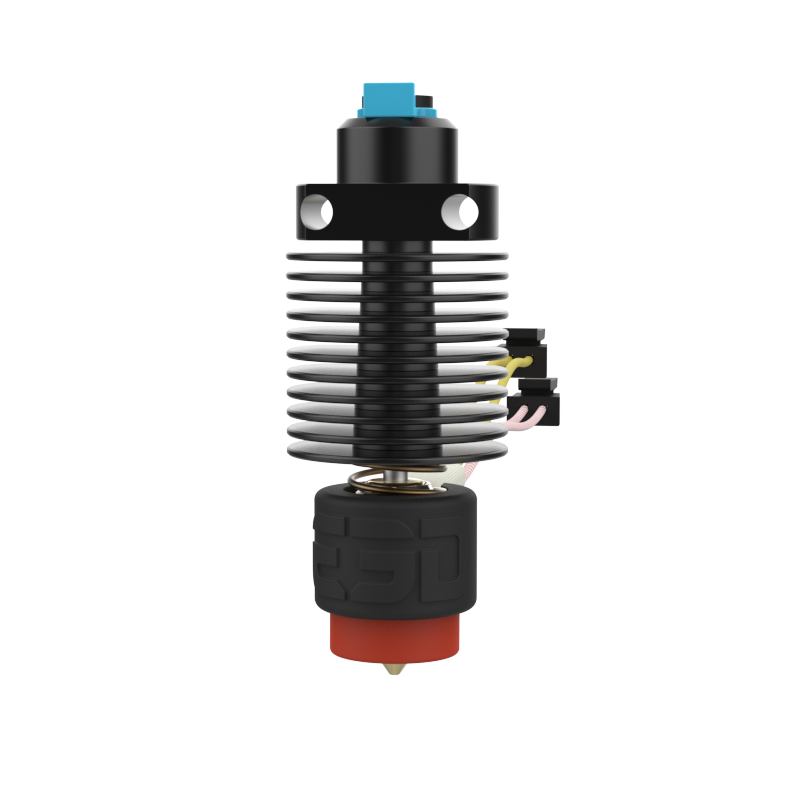
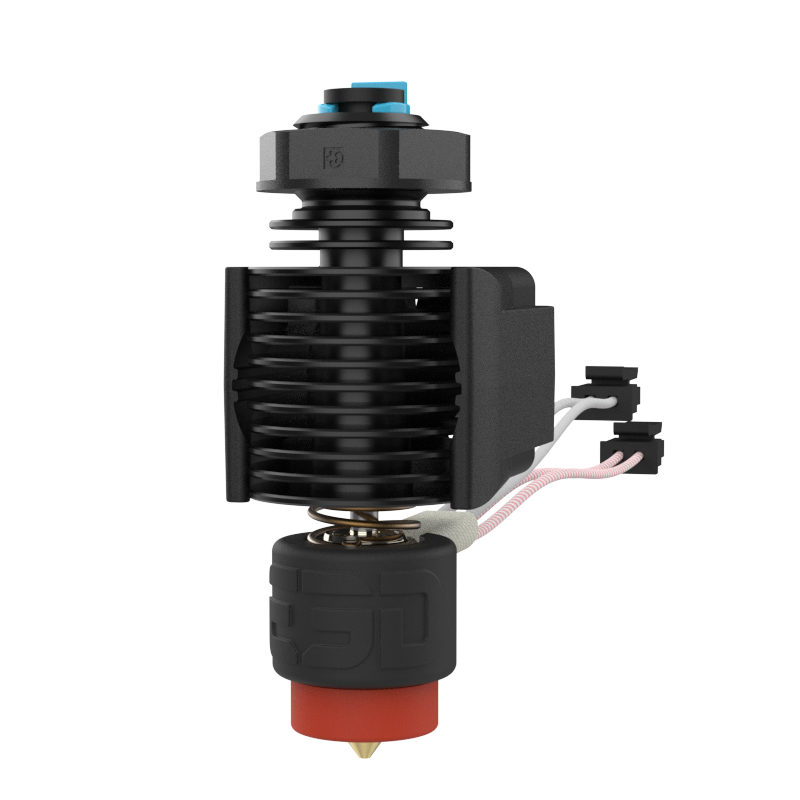
Your tool-board should now be usable with Klipper. Use the example config file to get started.
Best option is to copy the config file into the same directory as printer.cfg.
Add [include Rototool.cfg] to the beginning of your printer.cfg to include the file.
Comment out the unused I/O features of the Rototool config section.